|
|
|
|
|
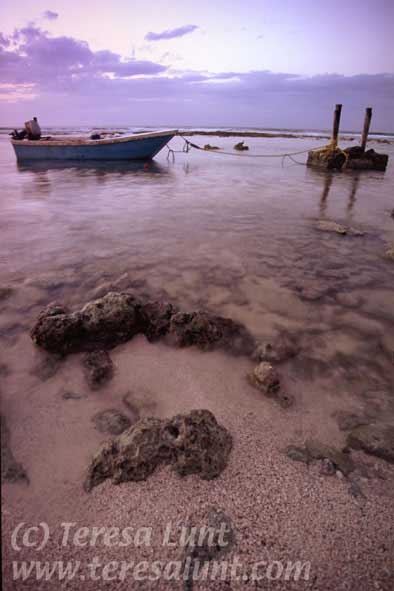
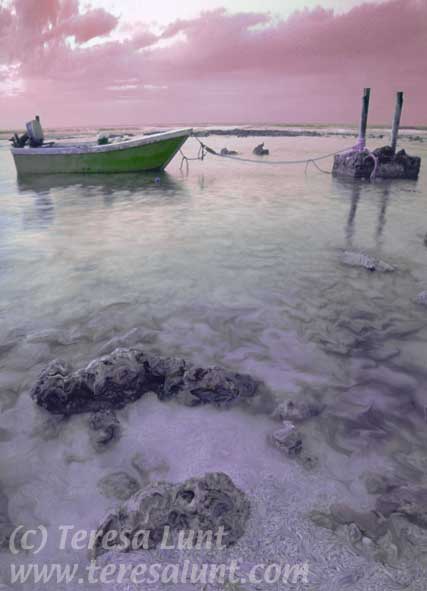
Tutorial 5: Fishing Boat Last time we worked with a photograph from the Cayman Islands. This time we will work with another photograph, shown in Figure 1, this time from Little Cayman Island. I started with this photograph of a fishing boat taken just after sunset. I used a very wide angle lens, which accounts for the interesting foreground and curvature of the horizon. Since it was getting dark I needed a long exposure, which accounts for the glassy surface of the water and the slight movement of the boat. I shot this photograph on Fuji Sensia 100 slide film, and then scanned the color slide uisng my desktop slide scanner at 2400dpi, resulting in a 20MB file. |
|
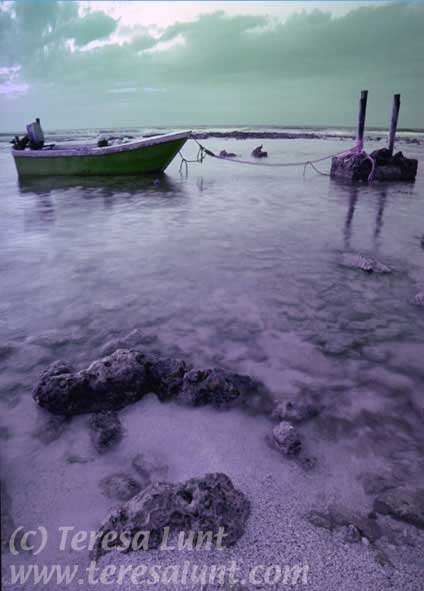
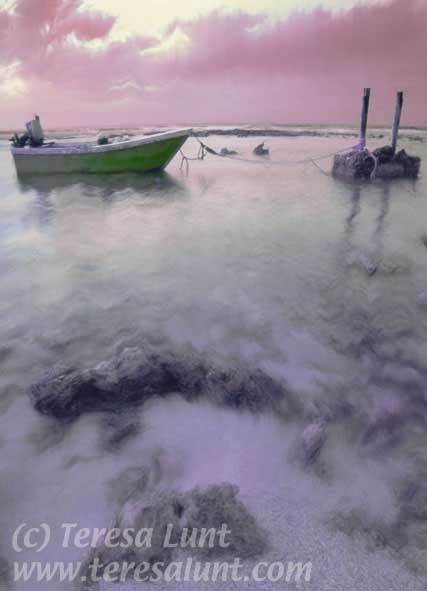
I like the feel of this photograph, the after sunset glow, the huge wide angle. But I was dissatisfied with the sky. The first thing I wanted to do was to stretch out the clouds to cover more of the sky. To do this I used Photoshop's marquis tool to select the top portion of the picture. Then I used and Edit>Transform>Scale and Edit>Transform>Skew to stretch things out. Then I cropped off some of the top of the picture where there was very little cloud cover. You can see the results in Figure 2. |

|
Now I wanted to work on the color. I used a combination of hue/saturation and channel mixer to alter the colors as shown in Figure 3. I like the mysterious feel this gives. It heightens the feel of night. The water still retains a beautiful reflection of the color of the sky. |
|
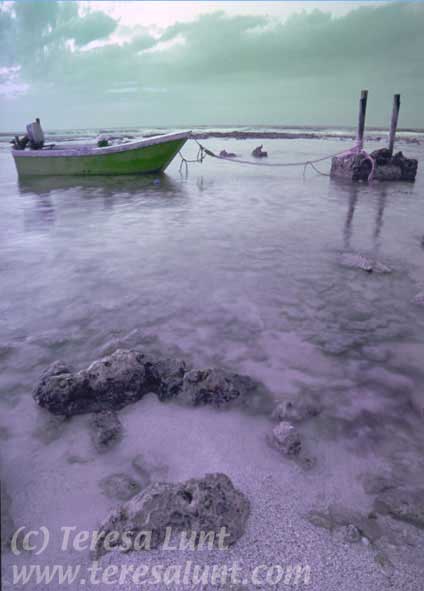
So far so good. But I was unhappy with the deep shadows where I was losing a lot of detail. To deal with this, I used a combination of Image>Adjust>Curves and Image>Adjust>Levels to unblock the deep shadows and to lighten the image overall. Then in the history window, I selected the state just before the curves and levels adjustments, and used the history brush at a brush opacity of 50% to paint a bit more darkness from that history state back into the foreground and into the sky. The net results of all this lightening and selective darkening is that I unblocked the deep shadows on the boat and remains of the old pier, lightening that portion of the image considerably, while keeping the darkness and mystery in the water and sky and retaining a good overall contrast. You can see the result in Figure 4. |
|
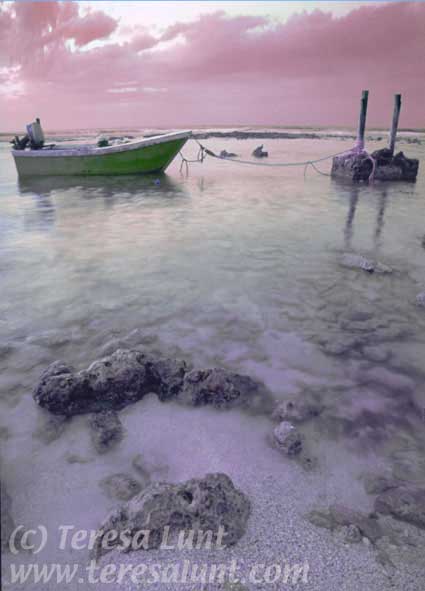
Now back to working on the color. While I liked the feeling of mystery and dusk that the purple color lends the image, I wasn't happy with the color of the sky. I wanted to get a bit more feeling of post-sunset glow into the sky by reddening it. So I used Image>Adjust>Replace color, used the eyedropper to select the green of the clouds, chose a fuzziness of 94, and moved the green to a reddish color. The fuzziness setting tells you how much of the image will be selected for the color shift: with a higher fuzziness setting more of the image is selected. You can see exactly what portion of the image will be selected in the preview window of the Replace Color dialogue box. I used Replace Color again to get a bit of the red color of the sky reflected in the water. |
|
You could ask, what more could we do to this picture? This is a question I am constantly asking myself as I work on an image. So I decided to try to add some distortion, one of my favorite effects, to the image. To do this, I used Filter>Pen Tools>Super Putty, which is one of the Wacom pen tools. I used my Wacom tablet with pen input, to draw in some distortion in just the foreground of the image. Figure 6 shows the distortions I added. |
|
Since the effect was rather subtle, especially for a small image, I decided to show you what a more pronounced effect would look like. So, I made several duplicate layers of the image. Then, I used the Wave filter (Filter>Distort>Wave) on each of the duplicate layers, but with different parameter settings on each of those layers. You have to experiment with the settings to see what effects you will get. There is a tiny preview window in the Wave filter dialogue box to help you gauge the effect of the settings you choose. Then I set different opacities to each of the layers. I also added a layer mask to each of the duplicate layers, and I painted black on each mask where the boat, ropes, and remains of the dock are in the image. This means that the wave distortion is applied only to the other portions of the image. When everything looked the way I wanted, I flattened the image. |
|
The result of all these manipulations is a beautifully pastel-colored image whose colors evoke the mysterious feeling of just past sunset, with a luminous water surface giving the feeling of motion, and the accurate lines of the boat, ropes, and remains of the dock anchoring us to reality. |
![]()